Table of Contents
In the rich world of cuisine, some dishes go beyond their culinary position to become potent symbols of cultural legacy. The modest yet revered rotis, a traditional flatbread with significant cultural importance in Indian society, is one of these gems.
Beyond only being delicious, rotis also signify history, community, and ideals that have been upheld for a long time.
There’s something truly magical about the aroma of freshly made rotis wafting through the kitchen.
Phulkas or rotis are a staple part of everyday diets, and there’s nothing more satisfying than biting into a warm, freshly prepared one.
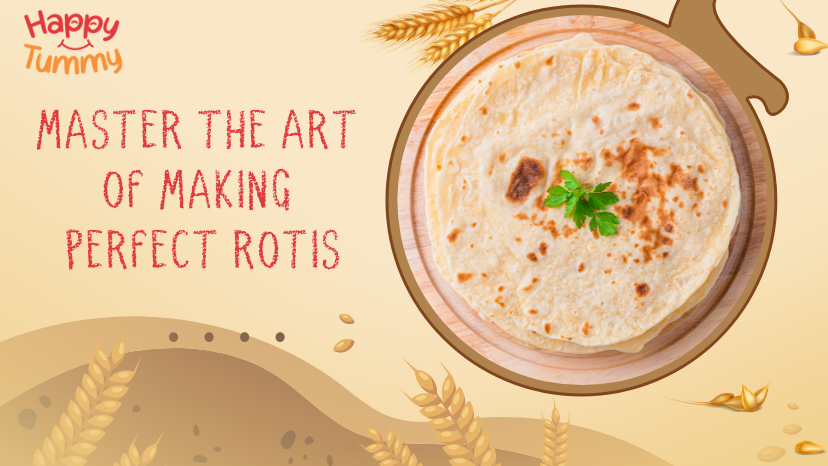
Rotis are thin, unleavened flatbreads made from wheat flour and water. Being an integral element of Indian food; thus, it is crucial to learn how to make them perfectly.
Creating a soft, fluffy, and perfect roti can be challenging. It takes time, effort, and careful attention to detail to achieve the perfect balance of delicacy and crispness.
So let’s explore the ingredients, preparation, rolling, cooking, and storage to ensure you can create the perfect, fluffy, crispy flatbreads everyone loves.
What is Roti?
In plain English, roti is a type of flatbread made from whole wheat flour, or “atta,” as it is known in Hindi.
We use atta to make various varieties like paratha and puris in India. Roti is the simplest bread that is made every day in Indian households. It just requires two ingredients: water and atta.
These two ingredients are usually needed to prepare it, while some add salt and oil.
It goes by several names across the nation, and there may be variations in how you should prepare. Roti/Phulka/Chapati/Rotli are more or less the same thing.
Steps to Make Perfect Roti/Phulka
Step 1: Gather the Ingredients and Tools to Make Rotis
Ingredients are the heart and soul of any dish, and phulkas/rotis are no exception.
To make the perfect phulkas/rotis, you must pay attention to the simple yet crucial ingredients in the dough.
The following are the key ingredients to make roti:
Flour, also known as atta
The first ingredient is flour. Flour selection plays a significant role in determining the texture and taste of your phulkas/rotis.
While wheat flour is the most commonly used, you can also experiment with other flours like bajra or jowar for a healthier version like Aashirvaad Atta with Multigrains
Quality flour plays a vital role in getting a soft and healthy roti.
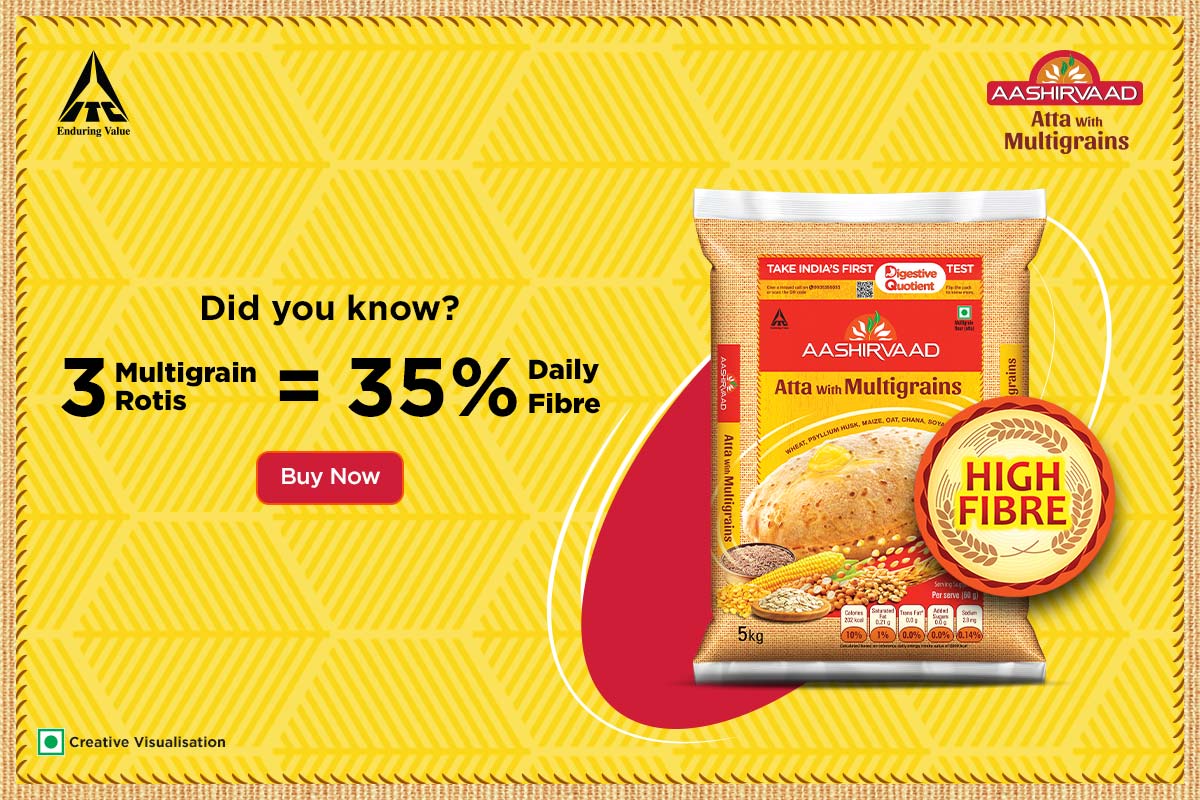
So if you are looking for a healthier alternative to regular flour, look no further! Aashirvaad Atta with Multigrains is a wholesome combination of handpicked grains carefully selected to bring you a nourishing and delicious experience.
Packed with the goodness of multiple grains like wheat, oats, maize, ragi, and chana dal, this premium quality atta is designed to cater to your nutritional needs without compromising taste.
Each grain brings unique benefits, making this atta a powerhouse of essential nutrients, vitamins, and minerals.
Also read – Different Atta Varieties to know
Water
You must use the correct quantity of water to make the dough supple and elastic.
A dough with too much water may be sticky and challenging, while a dough with little water may be stiff and dry.
Knead the dough to include all the flour while gradually adding water.
Salt (optional)
Salt adds taste to the phulkas/rotis and helps regulate the fermentation process. Although it may be tempting to add more salt, it is crucial to use the proper amount because too much salt might cause the dough to become rigid.
You’ll also need a mixing bowl, a rolling pin (belan), a flat griddle or tawa, and a pair of tongs.
Remember, the perfect phulkas/rotis are not just about getting the technique right. It also involves using the proper ratios of ingredients.
Therefore, pick your components wisely and get ready to knead the dough like an expert!
Step 2: Prepare the Dough for Rotis
Preparing the dough for phulkas/rotis is crucial in making them perfect. Kneading dough requires practice and involves more than just mixing the ingredients.
Remember to use the right amount of water. Another suggestion is to knead the dough for 10-15 minutes or until it is smooth and bouncy.
Step 3: Divide the Dough
After kneading the dough for 10 to 15 minutes, let it rest. The dough will soften and become easier to work with. For the rotis of the same size, dividing the dough into equal portions is also crucial.
A small trick is to sprinkle some flour on the dough before dividing it, as it will make it easier to handle.
Step 4: Rolling the Perfect Phulkas/Rotis
Rolling the perfect phulkas/rotis can be daunting, but with a little practice and patience, you can master it.
Begin by dusting your workspace with flour and take a portion of the divided dough.
It would be best to cover the remaining dough to prevent drying.
Roll the dough into a ball and press it flat between your palms to maintain uniformity.
Dip it in flour and place it on the workspace. Start rolling gradually, applying even pressure, and turning the dough circularly.
Rotate the dough as you go to maintain a circular shape. The rolled phulka should be about 6-7 inches in diameter.
Tips on Rolling the Dough:
- Always keep your rolling pin and workspace dusted with flour.
- Do not apply too much pressure, as it can make the roti thick and dense.
- Roll the dough thin from the center and thicker from the edges.
- If the dough starts sticking, apply more flour.
Common Mistakes to Avoid:
- Using too much pressure while rolling the dough.
- Making the roti too thin or too thick.
- Not dusting enough flour while rolling.
Now that you have mastered rolling the perfect phulkas/rotis, it’s time to cook them to perfection.
Step 5: Cooking Rotis
Now that we’ve expertly crafted the perfect phulkas/rotis, it’s time to cook them perfectly—first things first: stove selection. Gas is the tried-and-true method for Indian cooking, but electric stoves also work.
Choose cookware that evenly distributes heat, like a cast iron skillet or a non-stick tawa.
When cooking the phulkas/rotis, remember to use the right amount of heat.
Too little heat will result in uncooked roti, while too much heat will lead to burnt edges. Keep the stove at medium-high to high heat for optimal results.
Pro-tip: If you don’t see any bubbles forming on the surface of the phulka/roti within the first 30 seconds, your pan isn’t hot enough. Adjust the heat accordingly.
And there you have it – a perfect phulka/roti every time. Now, impress your friends and family with your newfound culinary expertise.
Step 6: Storage
For more freshness, you can preserve leftover phulkas and rotis in an airtight container.
Add a few drops of water, microwave briefly, and they will be warmed through.
Alternatively, you can keep the freshness of the ingredients by shortly placing them back in the hot skillet. Store them as soon as they cool down to avoid moisture retention.
Now that you have mastered the art of making perfect phulkas/rotis don’t let even a single one go to waste!
Conclusion
In conclusion, mastering the art of making perfect phulkas/rotis is a skill that brings joy, nourishment, and a sense of accomplishment to your kitchen.
You now possess the step-by-step guide and information to make these delicious and nutritious flatbreads.
Remember that way to perfection is practice; therefore, don’t let any early failures discourage you.
Enjoy the process, breathe in the aroma of hot rotis, and bask in the thrill of making something delicious from scratch.
So put on your aprons, gather your ingredients, and start your cooking adventure.
Frequently Asked Questions
The main reason is that you might not roll it out evenly. The roti won’t puff if rolled too thinly, to the point where the edges almost split apart (while the centre of the roti is thick). Make sure its thickness is the same throughout; that’s a good roti that will puff. It wouldn’t puff if the dough were too stiff or tight.
Microwave: Keep on a paper towel and heat for 5-10 seconds.
Stovetop Tawa: Warm the roti on each side until it is soft. To make it taste fresher, add little ghee.
Do not pack hot off the griddle roti in a closed box. It will become soaked. Place the cooked roti on a paper towel and top with ghee. Allow it to cool somewhat (but not totally). Then insert a paper towel and an aluminium foil.


